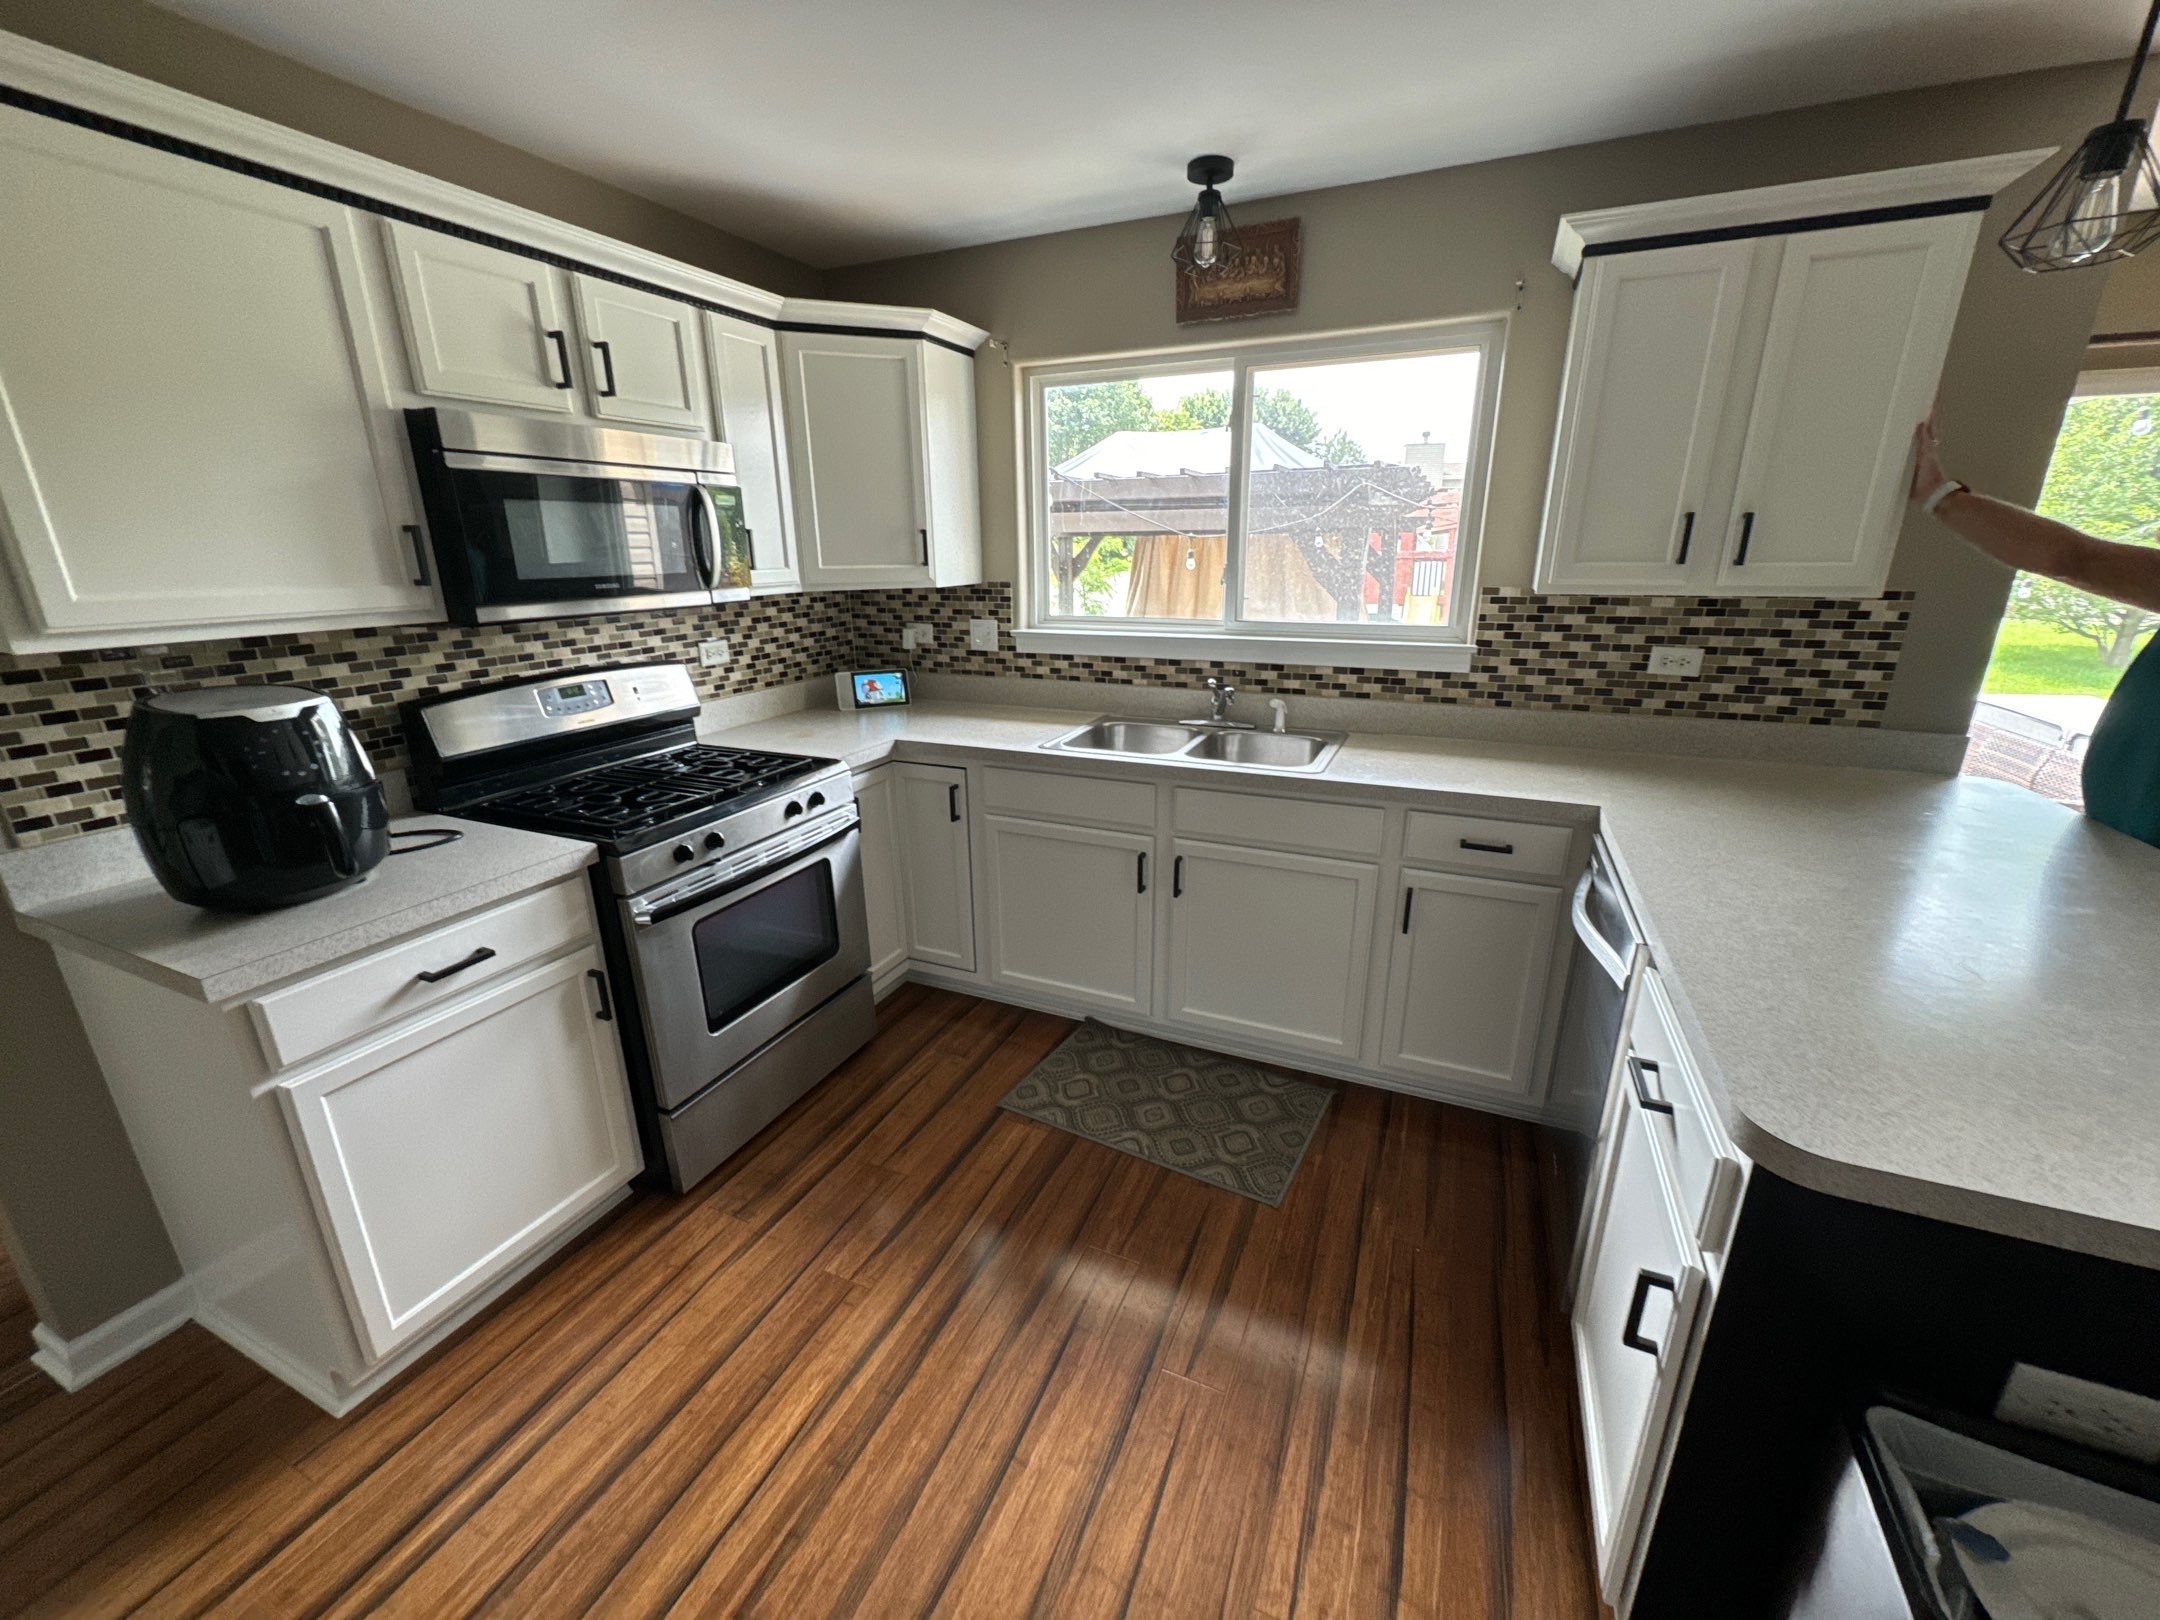
No matter how careful you are, painted cabinets don’t stay flawless forever. Daily wear and tear lead to scratches, chips, and scuffs, making even the most beautiful cabinetry look old and worn. Many homeowners worry that DIY touch-ups will make things worse instead of better. And let’s be honest—not everyone has the time or budget for a full repaint.
The good news? You don’t need a complete overhaul to restore your cabinets. With the right techniques, you can fix minor damage and refresh their appearance without a huge investment.
This guide will cover:
- Simple, effective ways to touch up painted cabinets without repainting everything.
- Step-by-step instructions for fixing common issues like scratches, chips, and peeling paint.
- When a DIY approach works—and when it’s time to call a professional.
Understanding Common Cabinet Damage and How to Fix It
Scratches and Scuffs on Painted Cabinets
How They Happen:
Everyday use takes a toll on painted cabinets, even with the most careful handling. Fingernails, rings, and utensils can leave behind light surface marks. Cleaning with abrasive sponges or harsh chemicals—like ammonia-based sprays—gradually wears down the finish, making minor scratches more visible. High-traffic areas, such as cabinet doors under the sink or near the stove, are especially prone to scuffing.
Quick Fix:
The easiest way to hide scratches is with a cabinet touch-up marker or wax repair stick in a matching color. Apply in thin layers, allowing the paint to absorb evenly. For deeper scratches, gently buff the area with a microfiber cloth before and after applying the touch-up product to create a seamless blend.
Chips and Dents in Painted Cabinets
How They Happen:
Cabinet doors and drawer fronts are frequently opened and closed, increasing the chances of impact damage. Heavy pots, slamming cabinet doors, or accidentally dropping kitchen tools can cause chipping, especially on edges and corners. In high-use areas, repeated impact weakens the finish, making chips and dents more noticeable over time.
Quick Fix:
For small chips, use wood filler or putty to rebuild the damaged section. Let it dry completely before sanding lightly to create a smooth surface. Once prepped, apply a matching touch-up paint with a fine brush, feathering out the edges to blend with the surrounding area. If your painted cabinets have extensive chipping, a professional refinishing service may be the best solution for a long-lasting fix.
Fading or Discoloration of Painted Cabinets
How It Happens:
Over time, painted cabinets can fade or change color due to UV exposure from direct sunlight. Cabinets near windows or under bright kitchen lighting often show uneven fading. Additionally, grease buildup, steam, and harsh cleaning chemicals can strip away the protective finish, leaving the paint looking dull or discolored.
Quick Fix:
First, clean the surface with a vinegar and water solution to remove grease and residue. If the finish still appears dull, apply a clear protective coat such as polyurethane, furniture wax, or a cabinet-friendly topcoat. This not only restores vibrancy but also helps prevent future discoloration. If fading is severe, a fresh coat of color-matched paint may be necessary.
Peeling or Chipping Paint on Painted Cabinets
How It Happens:
Paint starts to peel or chip when it doesn’t properly adhere to the cabinet surface. This is often due to high humidity, poor surface preparation, or low-quality paint. In kitchens, fluctuating temperatures and moisture from cooking can weaken the bond between the paint and the cabinet material, leading to flaking or peeling over time.
Quick Fix:
Start by sanding the affected area lightly to remove any loose paint. Next, apply a bonding primer to improve adhesion. Once dry, repaint the section with thin, even coats, allowing each layer to dry before adding the next. For extra durability, finish with a clear topcoat to protect against future chipping.
Stubborn Grease Stains on Painted Cabinets
How They Happen:
Cooking oils, food splatters, and greasy hands can leave stubborn stains on painted cabinets, especially around handles and near the stove. Over time, these stains seep into the paint, making them harder to clean with regular household cleaners.
Quick Fix:
To break down grease, mix baking soda with water to create a gentle scrubbing paste. Apply it to the stain and let it sit for a few minutes before wiping it away with a damp cloth. For tougher stains, use a cabinet-safe degreaser. Once the grease is removed, touch up the area with matching paint if needed to restore the cabinet’s original look.
By following these repair techniques, you can keep your painted cabinets looking fresh and well-maintained without a full repaint.
Tools and Materials Needed for DIY Cabinet Touch-Ups
Basic Repair Kit
For small touch-ups, having the right tools makes all the difference:
- Cabinet touch-up markers
- Wood filler or putty
- Fine-grit sandpaper (220-320 grit)
- Small paintbrushes or foam applicators
- Matching paint sample
- Clear topcoat for added protection
- Microfiber cloths for buffing
Choosing the Right Touch-Up Paint
How to find the perfect color match:
- Check leftover paint from the original job.
- Take a cabinet door to a paint store for professional color matching.
- If available, use a manufacturer’s touch-up kit for consistency.
Best paint types for cabinets:
The best paint types for painted cabinets depend on durability, finish, and ease of application. Acrylic enamel is a popular choice as it dries hard, providing a smooth, long-lasting finish that resists wear. Oil-based paint offers even greater resistance to damage but requires more drying time, making it less convenient for quick touch-ups.
For minor repairs, spray touch-up paint is ideal, as it blends seamlessly into existing painted cabinets, ensuring a flawless finish without visible brush strokes.
Step-by-Step Guide to Touching Up Cabinets
Preparing the Surface
Before applying any touch-up paint, proper prep is essential:
- Clean the damaged area with mild soap and water to remove grease and dirt.
- Sand lightly if needed to smooth rough edges.
- Allow the surface to dry completely before proceeding.
Fixing Small Scratches and Scuffs
- Use a touch-up marker in a color that closely matches your cabinet finish.
- Apply in thin layers to prevent dark patches.
- Buff with a microfiber cloth to blend the touch-up into the surrounding paint.
Repairing Chips and Small Dents
- Fill the damaged area with wood filler or putty and let it dry.
- Sand gently until smooth.
- Apply a thin coat of matching paint with a fine brush.
- Repeat the process if necessary to ensure full coverage.
Fixing Peeling or Chipped Paint
- Sand the peeling area to remove any loose or flaking paint.
- Apply a bonding primer to ensure proper adhesion.
- Repaint the section with thin, even coats for a smooth finish.
- Seal with a clear topcoat for added durability.
Maintenance Tips to Keep Cabinets Looking Fresh
Gentle Cleaning Routine
A gentle cleaning routine is essential for maintaining painted cabinets and preserving their finish. Use a mild soap and water solution to clean surfaces, as harsh chemicals can strip the paint and cause fading over time.
Wipe up spills and splatters immediately to prevent stains from setting in, especially in high-use areas like kitchens. Regular dusting with a microfiber cloth helps keep cabinets looking fresh by removing dirt and debris without scratching the surface.
Protecting Against Future Wear and Tear
Protecting painted cabinets from future wear and tear helps extend their lifespan and maintain their pristine look. Installing soft-close hinges prevents doors from slamming shut, reducing impact damage over time. Adding cabinet bumpers or felt pads minimizes chipping by creating a cushion between doors and frames. For extra durability, applying a clear protective topcoat once a year helps seal the paint, shielding it from moisture, stains, and everyday use.
Avoiding Common Mistakes
Avoiding common mistakes when maintaining painted cabinets ensures a smooth, long-lasting finish. Skipping surface preparation can lead to poor paint adhesion, causing touch-ups to peel or flake over time.
Using the wrong paint type often results in a noticeable color mismatch, making repairs stand out rather than blend in. Applying too much touch-up paint creates an uneven, thick appearance that draws attention to the repair instead of seamlessly restoring the cabinet’s finish.
When to Call a Professional for Cabinet Touch-Ups
Conclusion
Fixing minor scratches and chips on painted cabinets is easier than most homeowners think. With the right tools and techniques, you can refresh their appearance without investing in a full repaint. Regular maintenance—gentle cleaning, protecting surfaces, and applying a clear topcoat—can extend the life of your cabinets and keep them looking their best.
However, if DIY touch-ups aren’t blending well or the damage is too extensive, calling in a professional is the best way to ensure a flawless finish.
Want your cabinets to look flawless again? Contact us today for expert refinishing!


")